How to Rebuild Knowunity Flashcards in Nibomo
If you made Knowunity flashcards from a class handout, look for that handout first. The set can remind you what you studied, and the handout gives you a way to check the answers. If you already have a readable copy of the questions and answers, you can use that file to make new cards in Nibomo.
Find the cards or the material behind them
Knowunity can make flashcards from notes and uploads. Look for the saved set in Classes or Library in the app, or in Folders on the website. The PDF download in Knowunity’s help page is for mock exams. Knowunity’s guide to study tools
- You have a copy of the cards. Open it and check that each question is paired with its answer.
- You can still open a small set in Knowunity. Copy the pairs you want to keep into a text file. Put each question and its answer on separate lines and leave a blank line between cards.
- You have the original notes or handout. Pick the pages that cover the set. If you’re unsure which file you used, reopen the Knowunity chat where you made the cards and check what you attached. Look for that file in your downloads or on your course site. Knowunity’s guide to finding earlier uploads
Bring the file into Nibomo
Open the workspace where you want the cards in the Nibomo web app, then choose one of these routes. Open Nibomo · Supported import formats
Import prepared question-and-answer pairs
For a readable file such as a .txt, .pdf, or .docx, go to Library → Import → Import from another app. Select Choose files, add the file, then select Start import. Nibomo opens an AI chat that can save cards as the import runs. When the import finishes, skip to Check the saved cards.
Use a handout or preview copied pairs
Open a new AI chat in that workspace and attach the file. If your handout covers several topics, name the section you want to study. Ask to see a few fronts and backs without saving.
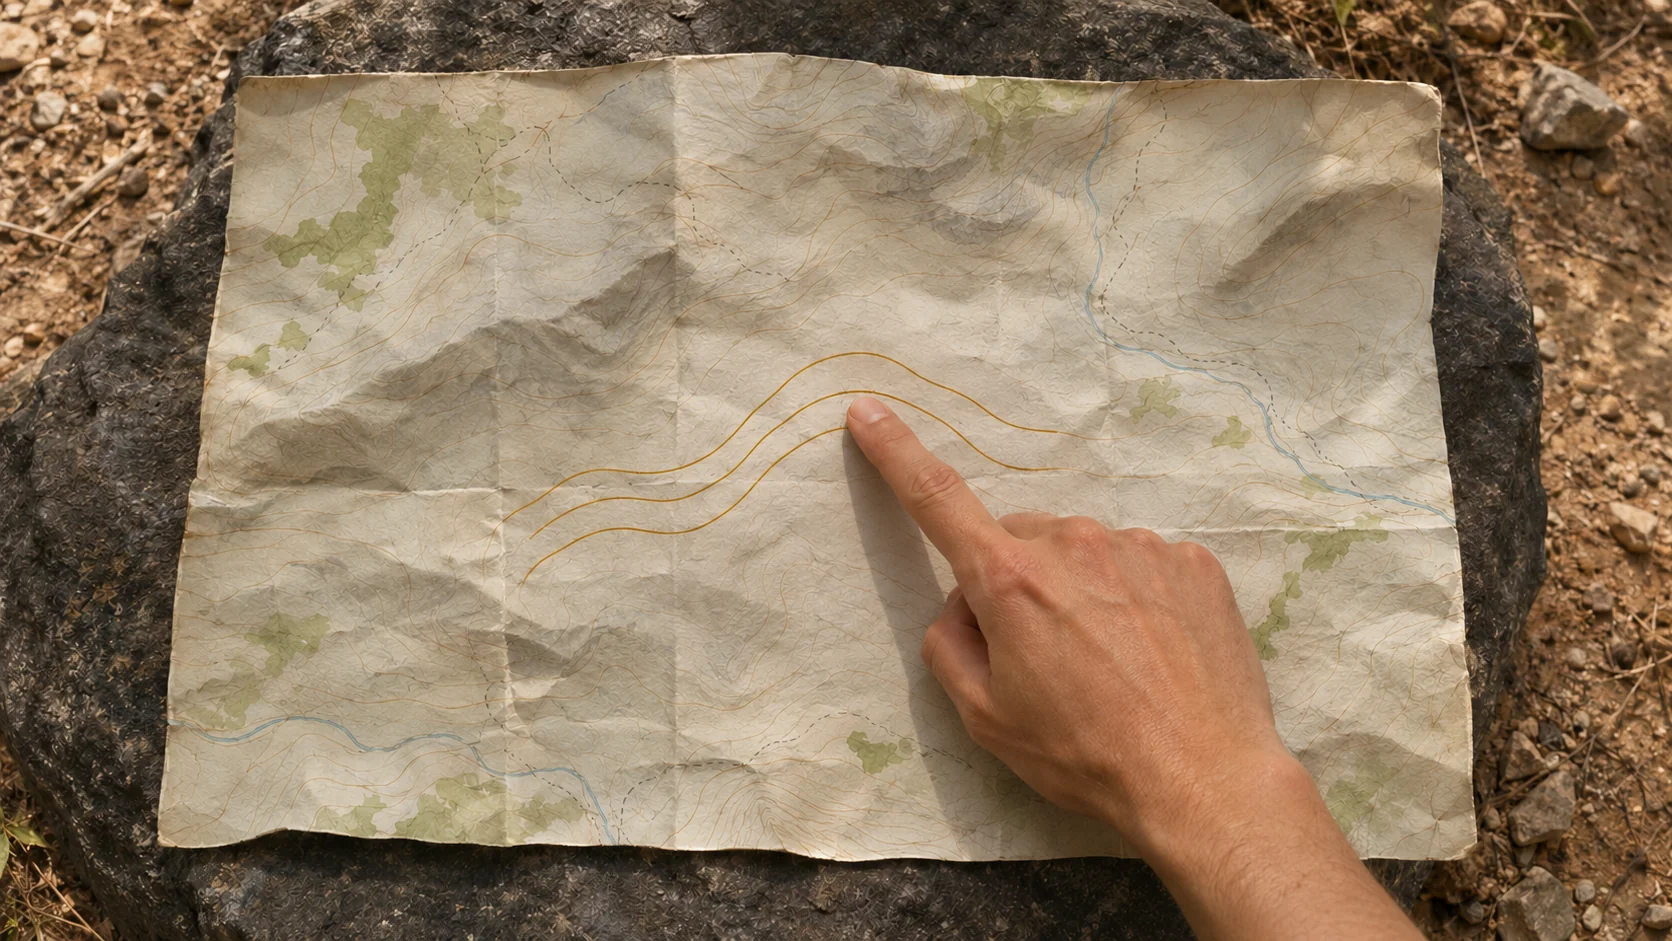
Manual chat example: Say the Knowunity set covered contour maps. The original handout shows three adjacent contour lines at 100 m, 120 m, and 140 m. It explains that lines closer together show a steeper slope. USGS guide to contour lines
With the handout attached, send this prompt in the same chat:
Draft three cards from the contour-map section. Make one about the contour interval, one about the elevation difference between the 100 m and 140 m lines, and one about what closely spaced lines show. Keep the units from the handout. Show me the fronts and backs before saving.
| Front | Expected back |
|---|---|
| Two adjacent contour lines are at 100 m and 120 m. What’s the contour interval? | 20 m. |
| How much higher is the 140 m contour than the 100 m contour? | 40 m. |
| What do closely spaced contour lines show? | A steeper slope. |
If the draft gives 40 m for the interval, check the middle line. It takes two 20 m steps to go from 100 m to 140 m. Ask the chat to correct the first card before saving. If the old set also covered a map symbol and your copy of the handout is missing the legend, set that question aside until you can check what the symbol means.
Once the answers match your source, ask the same chat to save the cards.
Check the saved cards
After either route, open Library → Cards to check what was saved. Compare the topics with the old set if you still have it, then add the next batch. The new cards start with a fresh review schedule in Nibomo.
This AI-assisted guide draws on Knowunity’s help center and Nibomo’s web app source. The contour-map handout is a practice example.